
Upgrading from standard Google Chrome incognito tabs to a professional digital isolation tool is a massive leap for any marketer. If you have been struggling with algorithmic bans on Facebook, Amazon, or TikTok, an anti-detect browser is the ultimate solution.
However, these tools are highly technical. If configured incorrectly, you can accidentally expose your real hardware data, rendering the entire software useless and instantly burning your new advertising accounts.
If you are transitioning to multi-accounting, you cannot afford to make a mistake on day one. Here is a definitive, step-by-step guide on how to safely setup an anti-detect browser for the first time and guarantee your digital anonymity.
Step 1: Choose a Beginner-Friendly Platform
Enterprise tools with hundreds of custom API configurations can be overwhelming for a beginner. If it is your first time, you want an interface that handles the complex cryptography in the background while offering a clean, simple dashboard.
For first-time users, GoLogin is highly recommended. It takes the guesswork out of profile creation by automatically assigning you a mathematically authentic hardware footprint. When you click “Create Profile,” the software instantly generates a unique screen resolution, Canvas hash, and operating system metric that perfectly mimics a real, physical device. Leave the advanced hardware settings on “Auto” unless you are a cybersecurity expert—manually changing individual hardware metrics often creates impossible, suspicious footprints.
Step 2: Configure Your Proxies Correctly
An anti-detect browser hides your computer’s hardware, but it does not hide your internet connection. If you launch your new profile without configuring a proxy, you will leak your real home IP address.
In the profile settings, navigate to the “Proxy” tab. As we discussed in our guide comparing residential vs datacenter proxies, you must strictly use residential IP addresses for platforms like Facebook or Google.
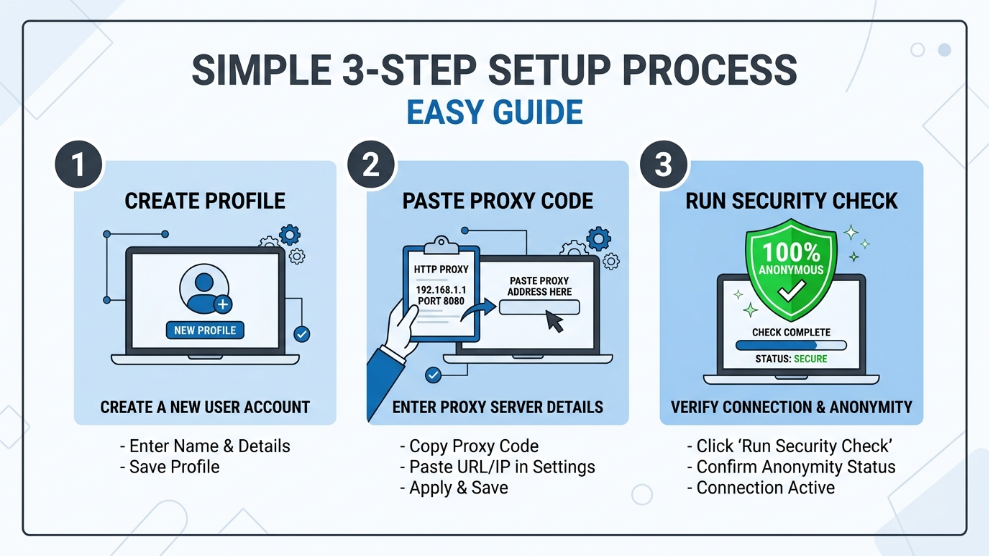
- Select the “SOCKS5” or “HTTP” protocol (depending on what your proxy provider issued).
- Paste your proxy IP, port, username, and password.
- Always click “Check Proxy” before saving. If the software cannot connect to the proxy, do not launch the profile.
Step 3: Run a “Leak Test” Before Logging In
This is the most critical step that beginners often skip. Once your profile is created and your proxy is connected, do not immediately log into your social media or e-commerce accounts. You must verify that your configuration is flawless.
Launch the browser profile. Instead of going to Facebook or Amazon, navigate to a specialized fingerprint testing website like BrowserLeaks.com. These websites simulate the exact tracking scripts used by major advertising platforms.
Check the dashboard for the following:
- IP Address: Does it match the location of your proxy? (e.g., If you bought a New York proxy, does the map show New York?)
- WebRTC Leaks: Ensure your real home IP address is not bleeding through the WebRTC communication channels.
- Hardware: Confirm that the browser is successfully reporting the spoofed operating system and screen resolution.
Final Thoughts
If the leak test comes back clean, your setup is complete. You are now browsing inside a mathematically sealed, completely isolated digital vault. By choosing a user-friendly platform, investing in high-quality residential proxies, and religiously testing your configurations before every major login, you can safely setup an anti-detect browser and scale your digital campaigns without fear of algorithmic bans.

Munir is a digital security researcher and software reviewer
with over 5 years of experience testing privacy tools, parental
control applications, and cybersecurity software. He founded
Tech Monitor Pro to provide honest, hands-on reviews that help
families and professionals make smarter decisions about the
tools they use online. When he is not testing the latest VPN
or email verification platform, he writes practical guides on
digital safety and online privacy.